

How do I check the compression of a Honda Strut Assembly?
Jan 09, 2026
Leave a message
As a dedicated supplier of Honda Strut Assemblies, I understand the significance of ensuring the quality and performance of these crucial components. One of the key aspects of maintaining the integrity of a Honda Strut Assembly is checking its compression. In this blog post, I will share my insights and expertise on how to effectively check the compression of a Honda Strut Assembly.
Understanding the Importance of Compression in Honda Strut Assemblies
Before delving into the checking process, it's essential to understand why compression is so important in Honda Strut Assemblies. The strut assembly plays a vital role in the suspension system of a Honda vehicle. It helps to absorb shocks, maintain tire contact with the road, and provide a smooth and comfortable ride. The compression of the strut assembly determines how well it can perform these functions.
When a strut assembly is compressed, it stores energy. As the vehicle encounters bumps or uneven surfaces, this stored energy is released, allowing the strut to absorb the shock and keep the vehicle stable. If the compression is not within the proper range, the strut assembly may not be able to perform its functions effectively, leading to a rough ride, poor handling, and increased wear and tear on other suspension components.
Tools and Materials Needed
To check the compression of a Honda Strut Assembly, you will need the following tools and materials:
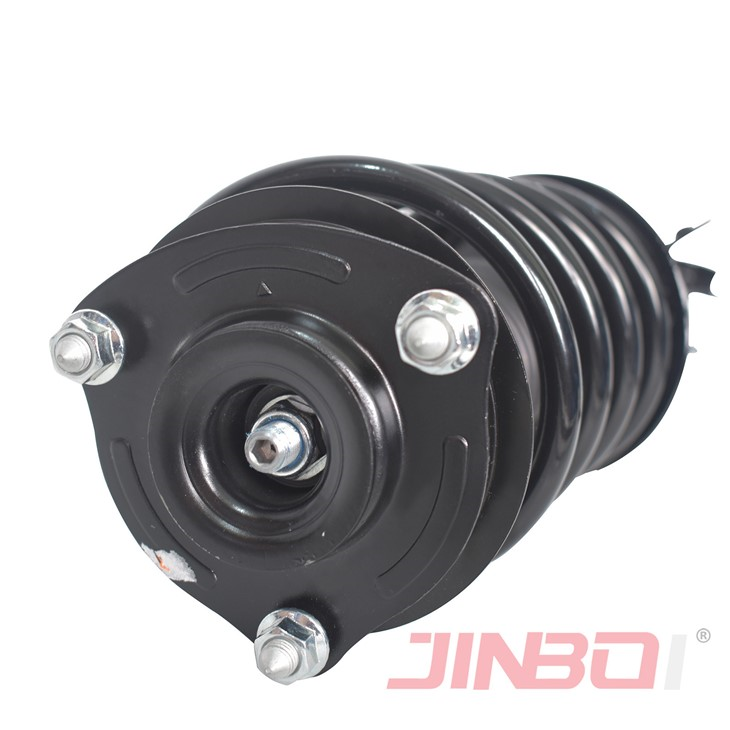
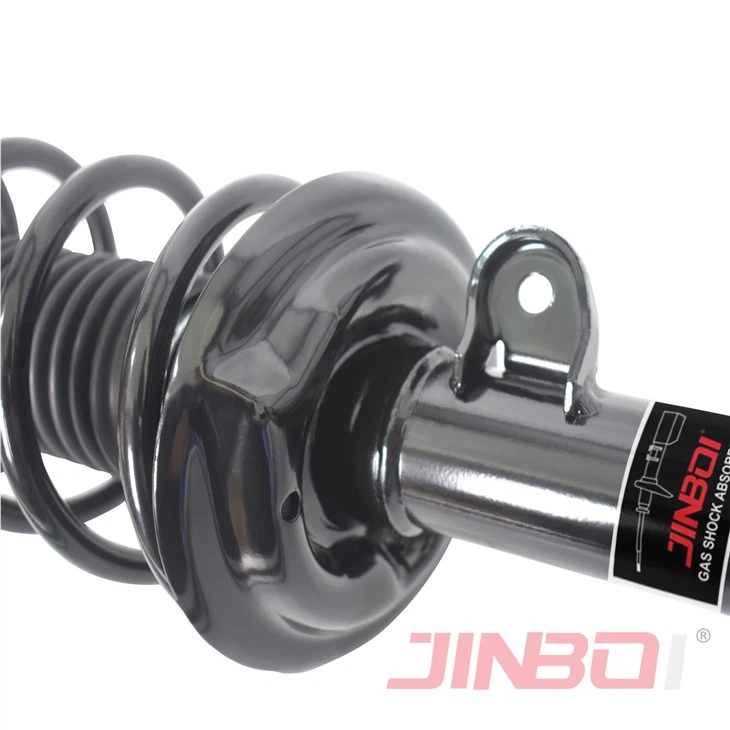
- Strut Compressor: This tool is used to compress the strut assembly safely and accurately. Make sure to choose a compressor that is compatible with the specific model of Honda Strut Assembly you are working with.
- Torque Wrench: A torque wrench is necessary to ensure that the nuts and bolts on the strut assembly are tightened to the correct specifications.
- Measuring Tape or Caliper: You will need a measuring tape or caliper to measure the length of the strut assembly before and after compression.
- Safety Gear: Always wear safety glasses, gloves, and other appropriate safety gear when working on a vehicle.
Step-by-Step Guide to Checking Compression
Step 1: Prepare the Vehicle
- Park the Honda vehicle on a level surface and engage the parking brake.
- Loosen the lug nuts on the wheel that corresponds to the strut assembly you will be checking.
- Use a jack to lift the vehicle and support it with jack stands. Make sure the vehicle is stable and secure before proceeding.
Step 2: Remove the Wheel
- Remove the lug nuts and take off the wheel. This will give you access to the strut assembly.
Step 3: Remove the Strut Assembly
- Locate the bolts that attach the strut assembly to the vehicle's suspension and steering components. Use a socket wrench to remove these bolts.
- Carefully remove the strut assembly from the vehicle. Be cautious not to damage the surrounding components.
Step 4: Inspect the Strut Assembly
- Before checking the compression, visually inspect the strut assembly for any signs of damage, such as leaks, cracks, or bent components. If you notice any damage, the strut assembly may need to be replaced.
Step 5: Measure the Strut Assembly
- Use a measuring tape or caliper to measure the length of the strut assembly from the top mounting point to the bottom mounting point. Record this measurement.
Step 6: Compress the Strut Assembly
- Place the strut assembly in the strut compressor. Follow the manufacturer's instructions to safely compress the strut assembly until it reaches the recommended compression level. This level can usually be found in the vehicle's service manual or the specifications provided by the strut assembly manufacturer.
- As you compress the strut assembly, make sure to monitor the compression process carefully. Do not overcompress the strut, as this can cause damage.
Step 7: Measure the Compressed Strut Assembly
- Once the strut assembly is compressed to the recommended level, use a measuring tape or caliper to measure its length again. Compare this measurement to the original measurement you took before compression.
- The difference in length between the uncompressed and compressed strut assembly should fall within the specified range. If the difference is outside of this range, the strut assembly may be faulty and need to be replaced.
Step 8: Release the Compression
- Slowly release the compression on the strut assembly using the strut compressor. Make sure to do this in a controlled manner to avoid any sudden movements.
Step 9: Reinstall the Strut Assembly
- Carefully reinstall the strut assembly into the vehicle. Use a torque wrench to tighten the bolts to the correct specifications.
- Reinstall the wheel and tighten the lug nuts.
Step 10: Lower the Vehicle
- Use the jack to lower the vehicle to the ground. Remove the jack stands and check the tightness of the lug nuts one more time.
Common Issues and Troubleshooting
- Incorrect Compression: If the compression of the strut assembly is not within the specified range, it could be due to a faulty strut, improper installation, or a problem with the strut compressor. Check the strut assembly for damage and make sure it is installed correctly. If the problem persists, consult a professional mechanic.
- Leaks: If you notice any leaks in the strut assembly, it is a sign that the seals are damaged. Leaking struts should be replaced immediately to ensure the safety and performance of the vehicle.
- Noisy Struts: If the struts make a loud noise when the vehicle is in motion, it could be due to worn-out components or a lack of lubrication. Inspect the strut assembly for any signs of damage and lubricate the moving parts if necessary.
Conclusion
Checking the compression of a Honda Strut Assembly is an important part of maintaining the performance and safety of your vehicle. By following the steps outlined in this blog post, you can ensure that your Honda Strut Assembly is functioning properly and providing a smooth and comfortable ride.
As a trusted supplier of 2002 Honda Crv Struts, Honda Strut Assemby, and Honda Civic Front Struts, we are committed to providing high-quality products and excellent customer service. If you have any questions or need assistance with your Honda Strut Assembly, please don't hesitate to contact us. We look forward to discussing your procurement needs and helping you find the right strut assembly for your Honda vehicle.
References
- Honda Vehicle Service Manuals
- Strut Assembly Manufacturer Specifications