

How do I measure the length of a Honda Strut Assembly?
Oct 03, 2025
Leave a message
Hey there! I'm a supplier of Honda Strut Assemblies, and I often get asked about how to measure the length of these assemblies. It's a crucial step, whether you're a mechanic looking to replace a worn - out strut or a DIY enthusiast working on your Honda. So, let's dive right in and break down the process.
Why Measuring is Important
First off, why do we even need to measure the Honda Strut Assembly? Well, getting the right length is super important. A strut that's too long or too short can mess up your vehicle's suspension geometry. This can lead to uneven tire wear, poor handling, and even affect your safety on the road. And as a supplier, I know that providing the correct length strut assembly is key to keeping my customers happy. You can check out more about Honda Strut Assemby on our website.
Tools You'll Need
Before you start measuring, you'll need a few tools. A tape measure is a must - have. Make sure it's a good quality one, preferably with both metric and imperial units. You might also need a jack to lift the vehicle safely. Safety stands are essential to support the car once it's lifted. Oh, and don't forget a socket set to remove any components that might be in the way of measuring the strut.
Preparing the Vehicle
Safety first! Park your Honda on a flat, level surface. Engage the parking brake and put on the hazard lights. Then, use the jack to lift the side of the vehicle where the strut you want to measure is located. Place the safety stands under the appropriate lifting points and lower the vehicle onto the stands. This ensures that the car is stable while you work.
Locating the Strut Assembly
The strut assembly is usually located between the wheel hub and the vehicle's chassis. On most Hondas, you can access it by removing the wheel. Once the wheel is off, you'll get a clear view of the strut. It's a big, cylindrical component that's part of the suspension system. You might notice that it has some bolts and other parts attached to it.
Measuring the Strut
Now, here's how you measure the strut. There are two main ways: the compressed length and the extended length.
Compressed Length
The compressed length is measured when the strut is under some pressure, like when the vehicle is on the ground. To measure this, you'll need to make sure the strut is in a somewhat compressed state. Start by measuring from the top mounting point of the strut to the bottom mounting point. The top mounting point is usually where the strut attaches to the vehicle's chassis, and the bottom is where it connects to the wheel hub. Use your tape measure and make sure it's straight. Write down the measurement.
Extended Length
The extended length is measured when the strut is fully extended. You can do this by carefully lifting the suspension to fully extend the strut. It's a bit tricky, so be careful not to damage the strut or any other components. Again, measure from the top mounting point to the bottom mounting point. This measurement is important because it gives you an idea of the strut's full range of motion.
Measuring Different Honda Models
Different Honda models might have slightly different strut assemblies. For example, the 2007 Honda Accord Shocks and the 2002 Honda Crv Struts have their own unique characteristics.
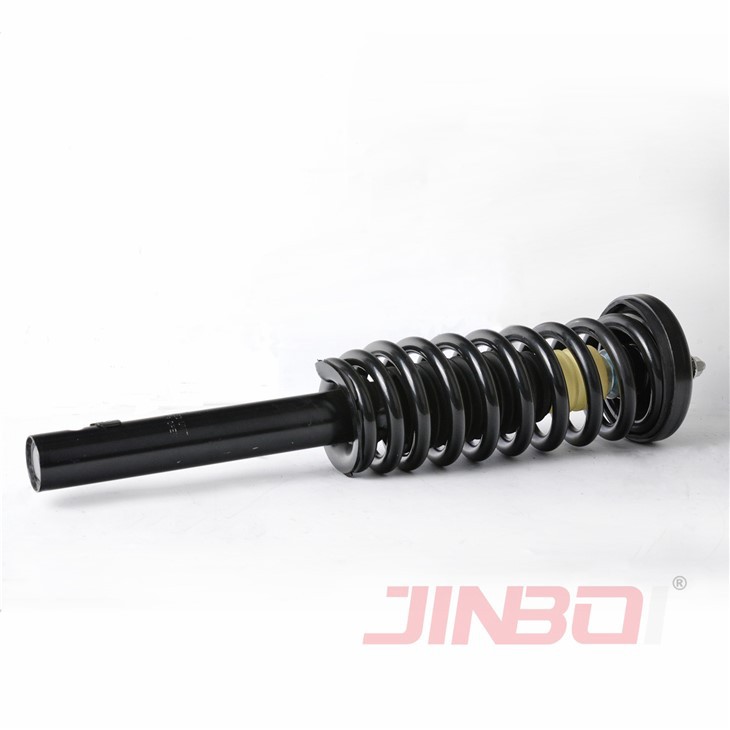
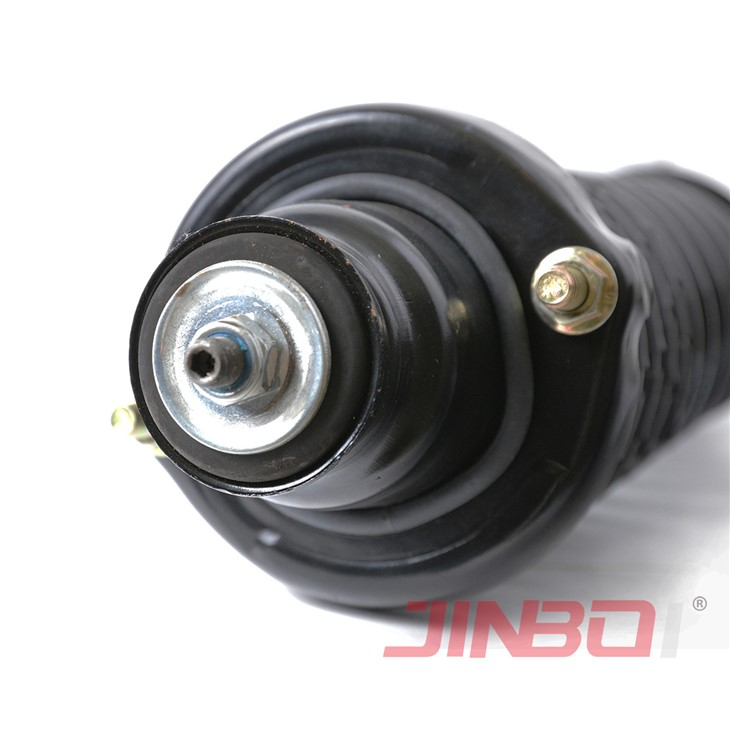
2007 Honda Accord
On the 2007 Honda Accord, the strut assembly is relatively easy to access. After removing the wheel, you can clearly see the strut. When measuring, pay attention to the mounting points. The top mounting point might have a rubber bushing that can affect the measurement slightly. Make sure to measure right at the center of the mounting holes for an accurate reading.
2002 Honda CR - V
The 2002 Honda CR - V has a different strut design. The strut is integrated with the coil spring in a different way compared to the Accord. When measuring the CR - V strut, you might need to be a bit more careful around the spring area. The spring can put some tension on the strut, so make sure you measure both the compressed and extended lengths accurately.
Double - Checking Your Measurements
Once you've taken the measurements, double - check them. Measure a few times to make sure you get the same result. It's easy to make a mistake, especially if you're working in a tight space. If you're still not sure, you can always take a picture of the strut and the measurements and send it to me. I'm here to help you get the right Honda Strut Assembly.
Using the Measurements to Order
Now that you have your measurements, you can use them to order the right strut assembly. As a supplier, I can help you find the perfect fit for your Honda. Just send me the measurements along with the make, model, and year of your vehicle. I'll use this information to match you with the correct strut.
Conclusion
Measuring the length of a Honda Strut Assembly might seem a bit complicated at first, but with the right tools and a bit of patience, it's definitely doable. Remember, getting the right measurements is crucial for the proper functioning of your vehicle's suspension. If you have any questions or need more help, don't hesitate to reach out. I'm always happy to assist you in finding the best Honda Strut Assembly for your needs. Whether you're a professional mechanic or a DIYer, I've got you covered. So, go ahead and measure those struts, and let's get your Honda back in top shape!
If you're interested in purchasing Honda Strut Assemblies, feel free to get in touch with me. We can discuss your requirements and work out the best deal for you. Let's start this procurement journey together!
References
- Automotive Repair Manuals for Honda Vehicles
- Online Resources on Honda Suspension Systems